
1. Package Contents
Before starting, ensure all accessories are present:
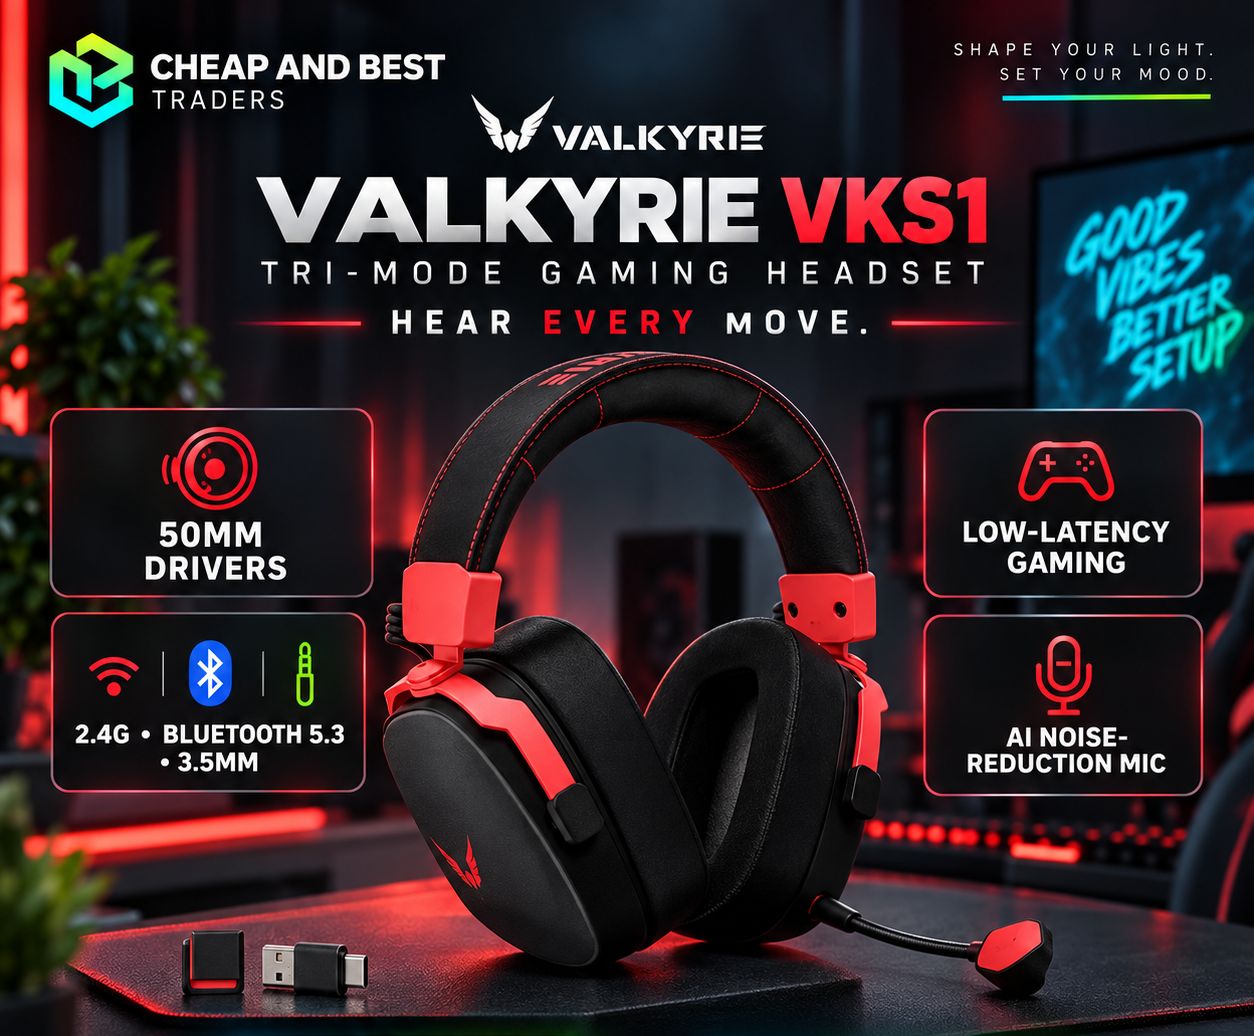
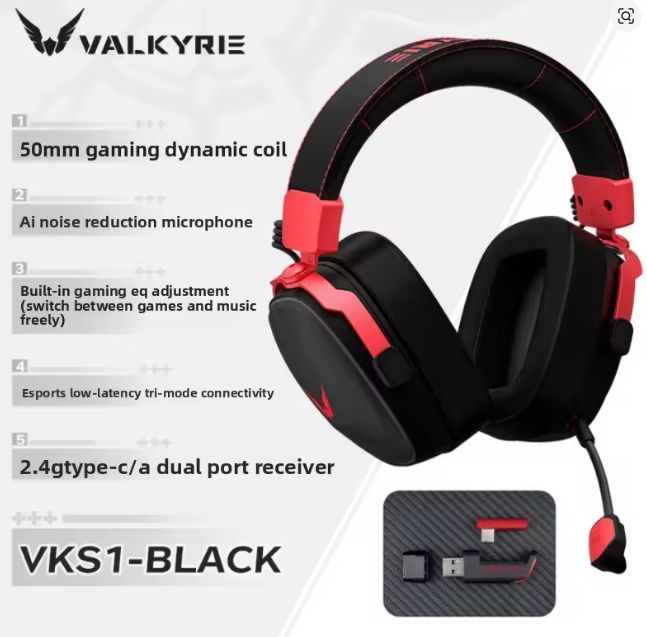
- VALKYRIE VK S1 Headset
- Detachable Microphone
- Charging Cable (Type-C)
- Audio Cable (3.5mm)
- 2.4G Type-C Receiver
- User Manual (this document)
2. Charging the Headset
Connect the provided Type-C charging cable to the headset’s charging port and a suitable USB power source. The headset will indicate charging status (e.g., an indicator light). Ensure the headset is fully charged before first use for optimal battery life.
3. Attaching the Microphone
Insert the detachable microphone into the audio hole on the headset until it clicks securely into place.
4. Connecting the Headset
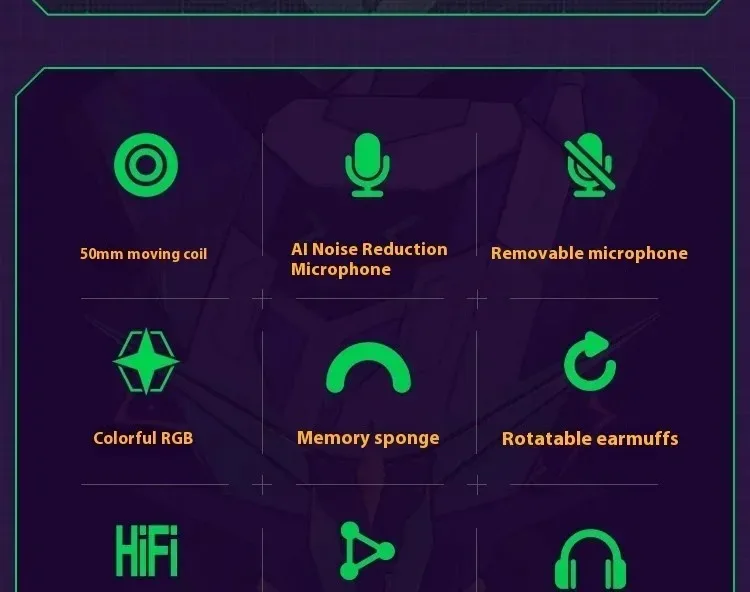
The VK S1 supports three connection modes: 2.4G Wireless, Bluetooth 5.3, and 3.5mm Wired.
4.1. 2.4G Wireless Connection (for PC, PlayStation, Switch)
- Plug the 2.4G Type-C receiver into a compatible USB-C port on your device (PC, PlayStation, Switch). If your device only has USB-A, use the included Type-C to USB-A adapter.
- Power on the headset (see Operating section).
- Double-click the Power key to switch to 2.4G mode. The headset will automatically connect to the receiver.
4.2. Bluetooth Connection (for Mobile, PC)
- Power on the headset.
- Double-click the Power key to switch to Bluetooth mode. The headset will enter pairing mode (indicated by a flashing light).
- On your device (e.g., smartphone), go to Bluetooth settings and select “VALKYRIE VK S1” from the list of available devices to pair.
4.3. 3.5mm Wired Connection
Connect the provided 3.5mm audio cable from the headset’s audio hole to the 3.5mm audio jack on your device. This mode does not require battery power.